Share this
by Hunter Liptrap on Jan 21, 2015
After building websites on HubSpot's COS, I have found it can be difficult to implement a functional jQuery navigation menu, specifically a hamburger style side menu. This type of menu is often used in apps, but with responsive web design taking a leap forward, you may have noticed these menus appearing on desktop websites as well.
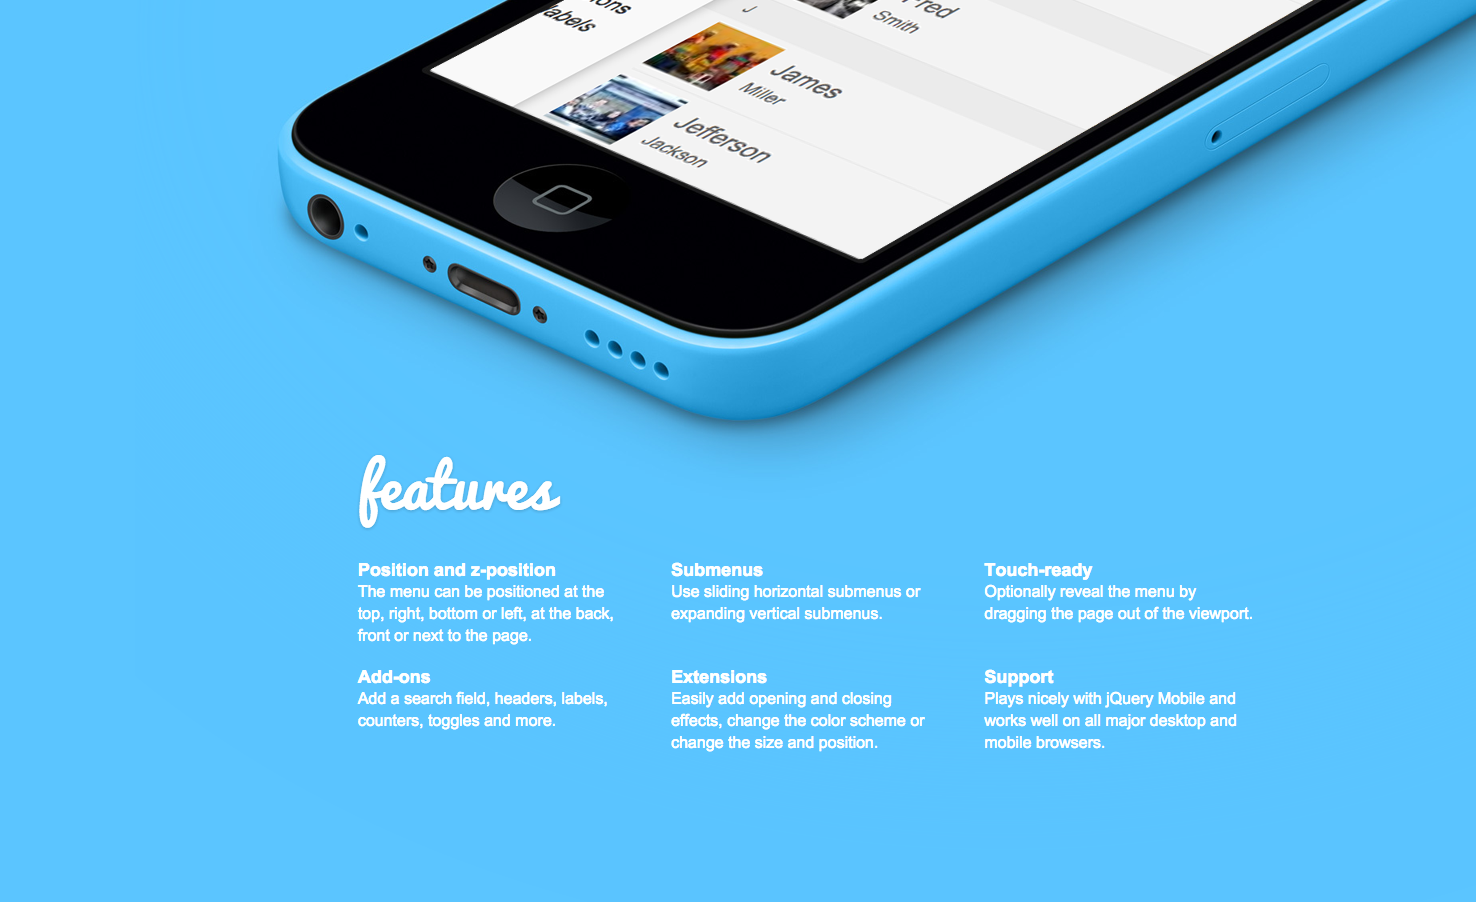
The demo page below shows an example (above the arrow in the top left corner) of this menu style on a full-size web page view.

A Modern Design Trend for 2015
If you are looking to create a website with a modern feel for 2015, the jQuery navigation menu style is the design trend you should undertake. The hidden menu will only become visible after clicking the hamburger menu toggle button, pictured in the top left of the image above. By adopting a design technique that mobile users are familiar with, you can create a website that maintains the same functionality across all device types, not just ones with smaller viewports.
This approach can be used for any website no matter the viewport size to help keep the design of the site clean and functional.
Where's the Code From?
Glad you asked. You can get everything you need from mmenu. It's the best jQuery plugin for app look-alike menus with sliding submenus for your website and web app. You can customize the menu as you see fit through a wide range of options, extensions and add-ons and it will always fit your needs.
The image below shows mmenu's "playground" page. When you visit this page, you can experiment with different options and effects and see a preview of the update before implementing it.
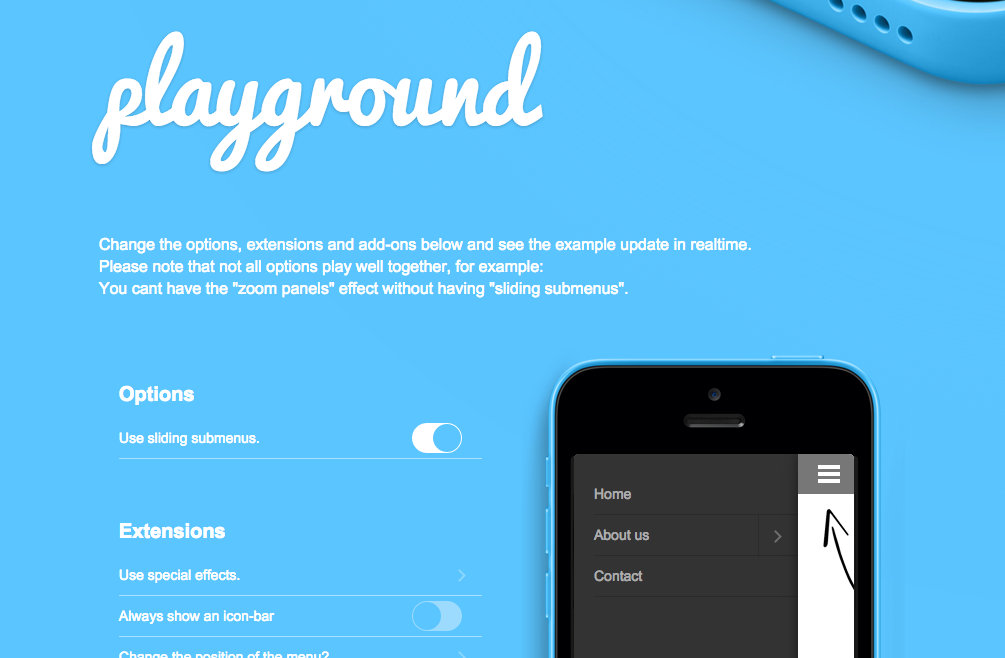
Visit their playground page to take all the add-ons for a spin.
How Do You Implement It?
Now, before you continue reading, I would like to address that this implementation process is for HubSpot COS design only. However, that doesn't mean you can't use this code on your WordPress website or any other platform. mmenu is a great jQuery navigation menu, regardless of platform.
Step 1
First things first, you have to download it. You should have downloaded a file with a .zip file named "jQuery.mmenu-master.zip". Unzip that file and open up the folder. Pictured below are the contents of the folder.
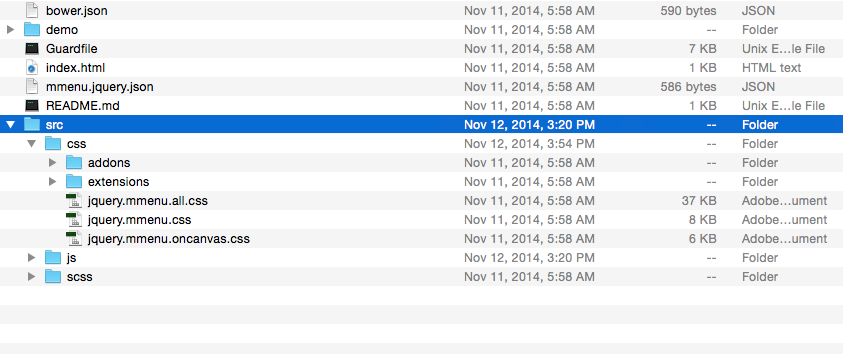
The files that you are interested in uploading to your HubSpot portal file manager are found in the "src" folder. If you open up the "css" folder, you'll the files you want. If you are not using any add-ons or extensions, then you can ignore those two folders and only upload the .css files in this folder. If you are using an add-on or extension then you will want to upload those files as well. For the sake of this post, I am going to upload files assuming no add-ons or extensions.
If you want to see what qualifies as an addon or extension, visit the playground page.
Step 2
Inside your HubSpot portal file manager, if you don't already have a folder named "CSS," I would create one now. Inside of this folder, create another folder to store the files for mmenu and label it however you would like, so you know what files are in it.
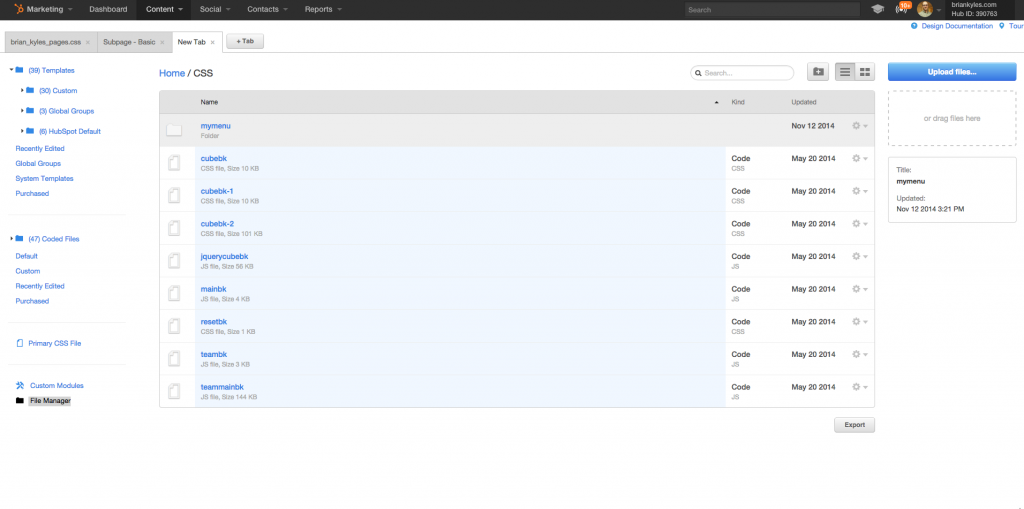
Inside of your new folder, upload the files from the "css" folder you downloaded from mmenu. Remember, if you aren't using add-ons or extensions, you don't need to upload those files. Do the same with the files in the mmenu "js" folder.

Make sure that you have the "jquery.mmenu.min.all.js" file and "jquery.mmenu.min.all.css" uploaded.
Step 3
Putting the necessary links and scripts in the footer is the next order of business. This is important for page speed as well as other reasons.
The problem caused by scripts is that they block parallel downloads. The HTTP/1.1 specification suggests that browsers download no more than two components in parallel per hostname. If you serve your images from multiple hostnames, you can get more than two downloads to occur in parallel. While a script is downloading, however, the browser won't start any other downloads, even on different hostnames. Read more about this here.
So, open up a new tab and select content settings from the main menu in your portal. Scroll down until you hit the section for "Site Footer HTML."
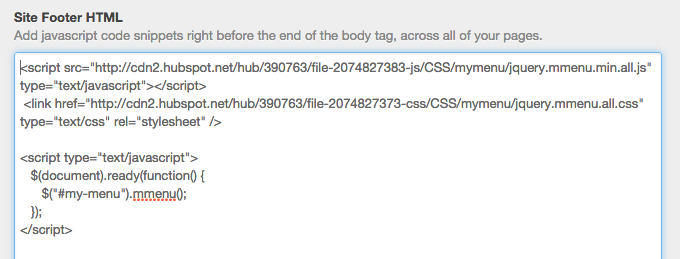
Paste in code that looks similar to this. However, please note that the "link href" and "script src" files need to be the ones you uploaded previously. To get the file URL, go back to your file manager and locate the "mmenu.all.css" and "mmenu.all.js" files. You can copy their location on the right side of the screen.
The script at the bottom to ready the menu is universal, so you can copy that code as is.
Step 4
That was the easy part. The difficult part is building the template to be able to utilize the script you now have running. Granted, writing the script and styles yourself would have been the hard part, but we by-passed that, so now this is the hard part.
Below, I set up a basic subpage in HubSpot's design manager that you are familiar with.
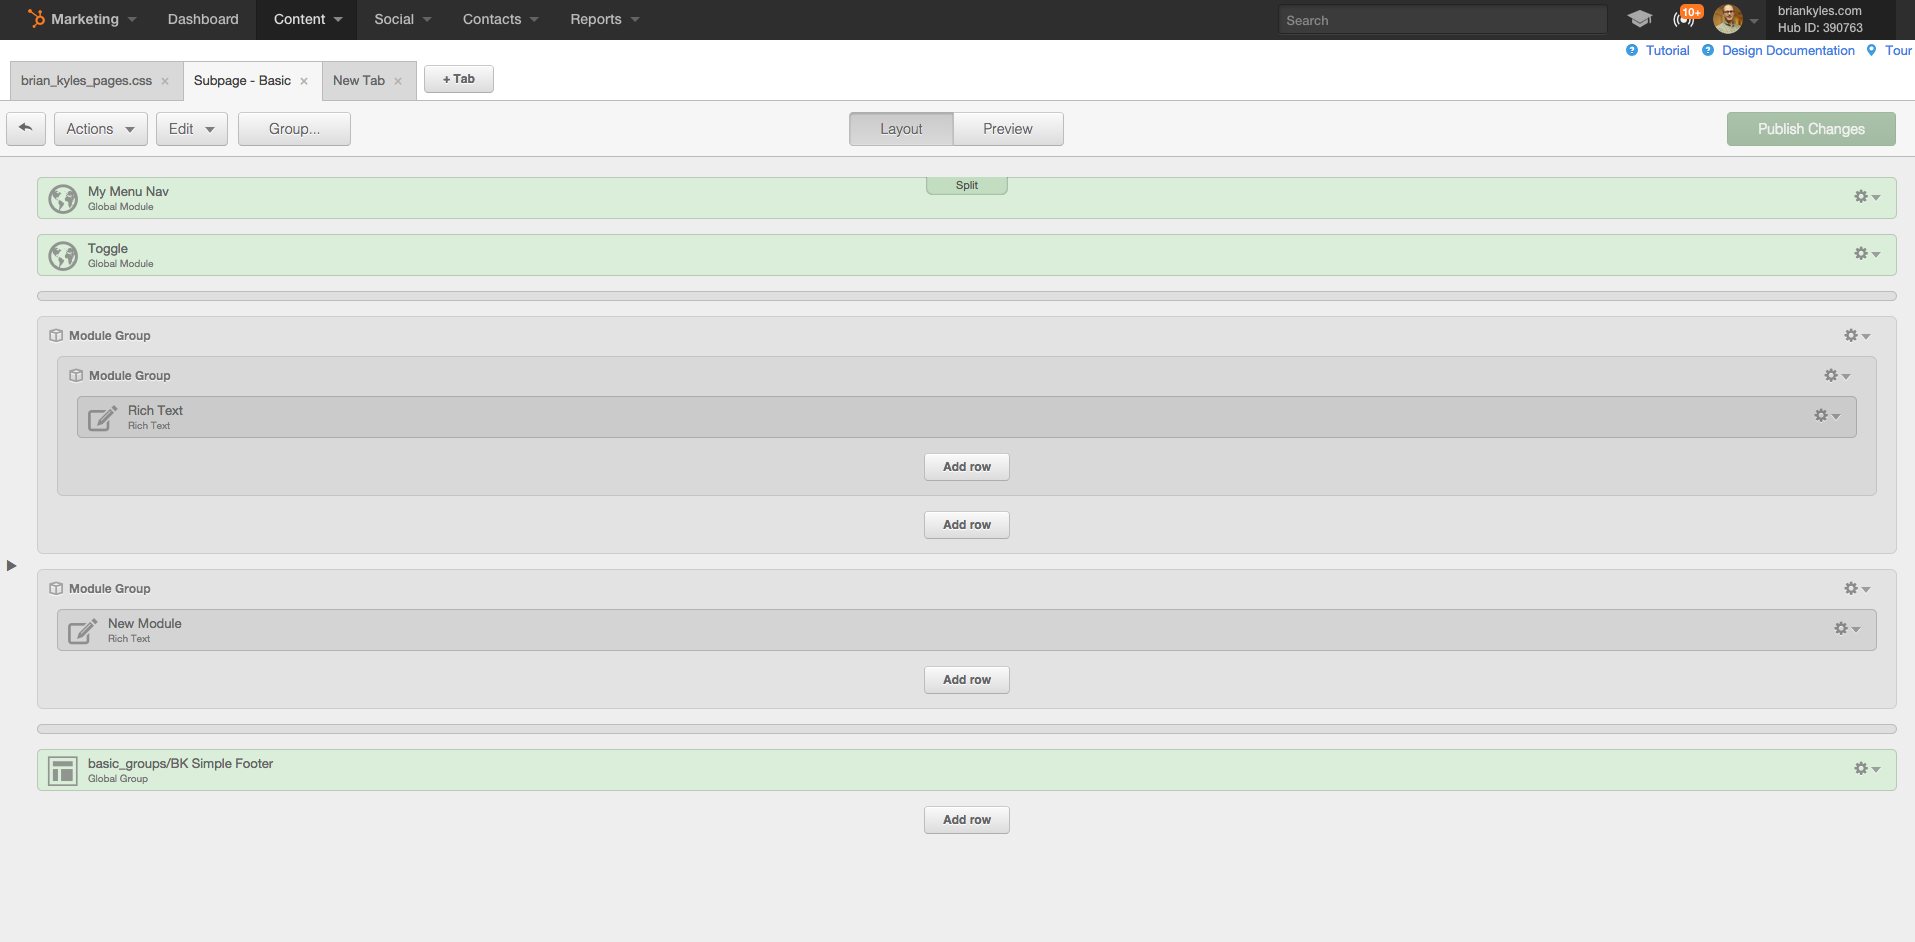
What you need to do next is create two global modules for the header — one for the menu and one for the toggle button.
Below is an example of code used for the toggle module.
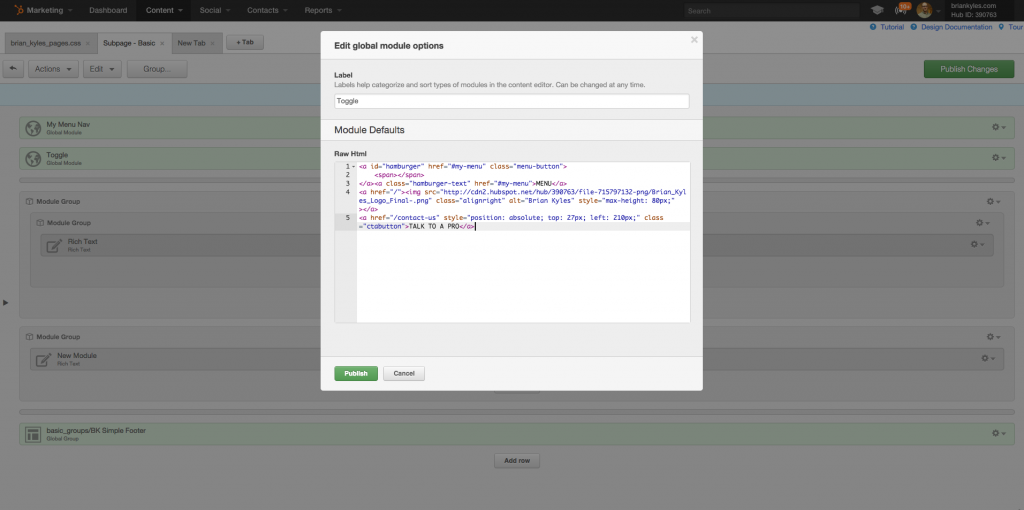
As you can see, there is actually a little more code in there than you need. The toggle section is also where I built in the typical header with logo and cta button as well. Below is the code you actually need for the menu to toggle on and off.
<a id="hamburger" href="#my-menu" class="menu-button">
<span></span></a>
This will give you the hamburger menu. Keep in mind, a small portion of clients and users may not "get" — meaning they may not be familiar with — the hamburger menu, so you may want to consider adding the word "menu" next to your hamburger. Example code for this would look like this:
<a href="#my-menu" class="hamburger-text">MENU</a>
This class hamburger-text is not included in mmenu. It is something that you will have to create on your own. Here's an example:
.hamburger-text {
top: 31px;
left: 90px;
position: absolute;
z-index: 2;
font-size: 30px;
color: #444;
font-weight: 700;
}
I would suggest adding this to your main stylesheet or adding it to your header as a <style> if necessary.
Next is the the Menu module.
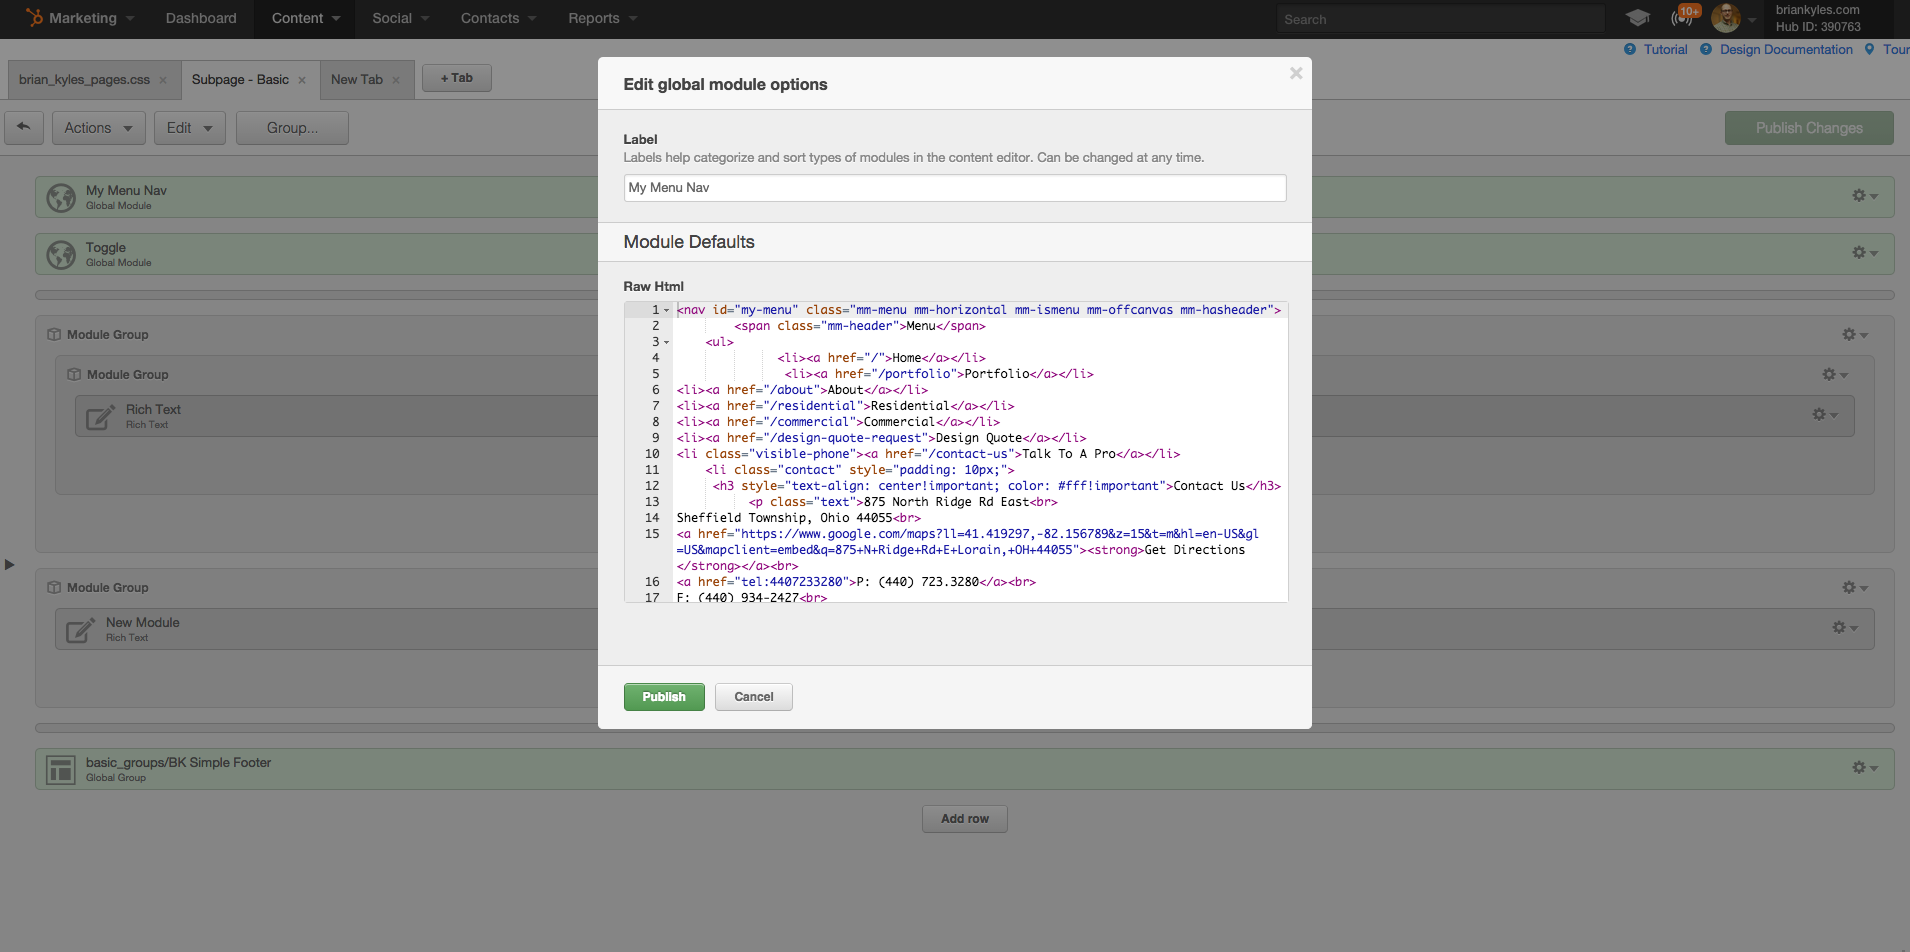
Pictured above is the example for the menu. However, below is the code you actually need to complete the menu.
<nav id="my-menu" class="mm-menu mm-horizontal mm-ismenu mm-offcanvas mm-hasheader">
<span class="mm-header">Menu</span>
<ul>
<li><a href="/">Home</a></li>
</ul>
</nav>
Step 5
Make sure you hit "save" on all your files, including your content settings and you should be good to go.
Last, but not least, you can adjust any color schemes, fonts or borders that you want customized for your website. Not every website would look best with a grey menu for the navigation.
Conclusion
Even you aren't a HubSpot user, I would encourage you to use this menu plug-in. It is functional, well designed, customizable and easy to use. If you are a HubSpot user, designer or client, this is the menu you want to be using for 2015 to connect your website design seamlessly through all devices types. That said, enjoy your new modern jQuery navigation menu in HubSpot COS.
Want more web design insights? Check us out!
No Comments Yet
Let us know what you think